Tapita Page Builder allows you to build contact forms using the following options:
- Using the Contact Us page templates
- Using the Contact Form block
- Build the form fields from scratch using the Forms elements
Either way, there are only 2 steps you need to do to get your form working!
Note: if you use the Contact Us page templates or the Contact Form block, then the forms already contains information in the steps below -> You only need to edit those information to fit your case.
Step 1: Insert a hidden field containing the form receiver information
In Tapita Page Builder, go to Add Element > Advanced – HTML > Custom HTML.
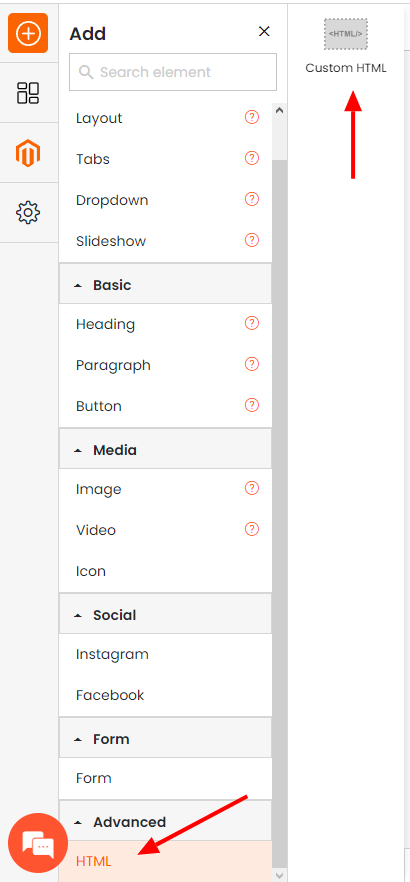
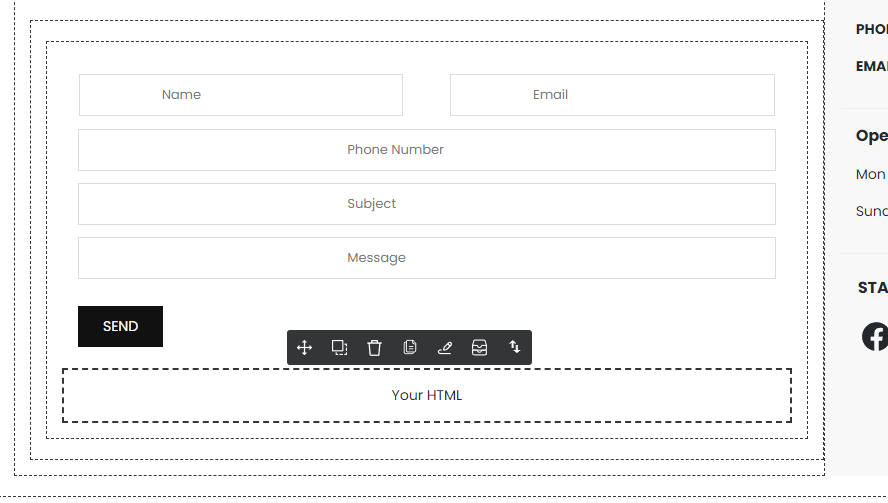
Drag the Custom HTML into your form. It’s important that you insert it inside the Form Group.
Replace the content inside the Custom HTML element by this content:
<input type="hidden" name="tapita_shop_name" value="My Store">
<input type="hidden" name="tapita_shop_email" value="support@tapita.io">
<input type="hidden" name="tapita_redirect_url" value="https://tapita.io/">
Replace the value in the code block by your store information:
- My Store: Your name or your store name
- support@tapita.io: The receiver email
- https://tapita.io/: The URL that customer will be redirected to after submitting the form
The email that is sent to your chosen inbox will look like this
Subject: A new customer contact request
Content:
Hi My Store,
A new customer has submitted your Contact Us form.
{{Customer submitted information}}
Step 2: Enter the form submit destination
Select the Form Group element.
Change Method into POST.
Then copy this URL and paste it into the Form Submit Destination field:
https://tapita.io/pb/simipbuilder/user/sendemail

Done!
You can click Preview button to test your form.
When you’re ready, click Publish to push it to live site.